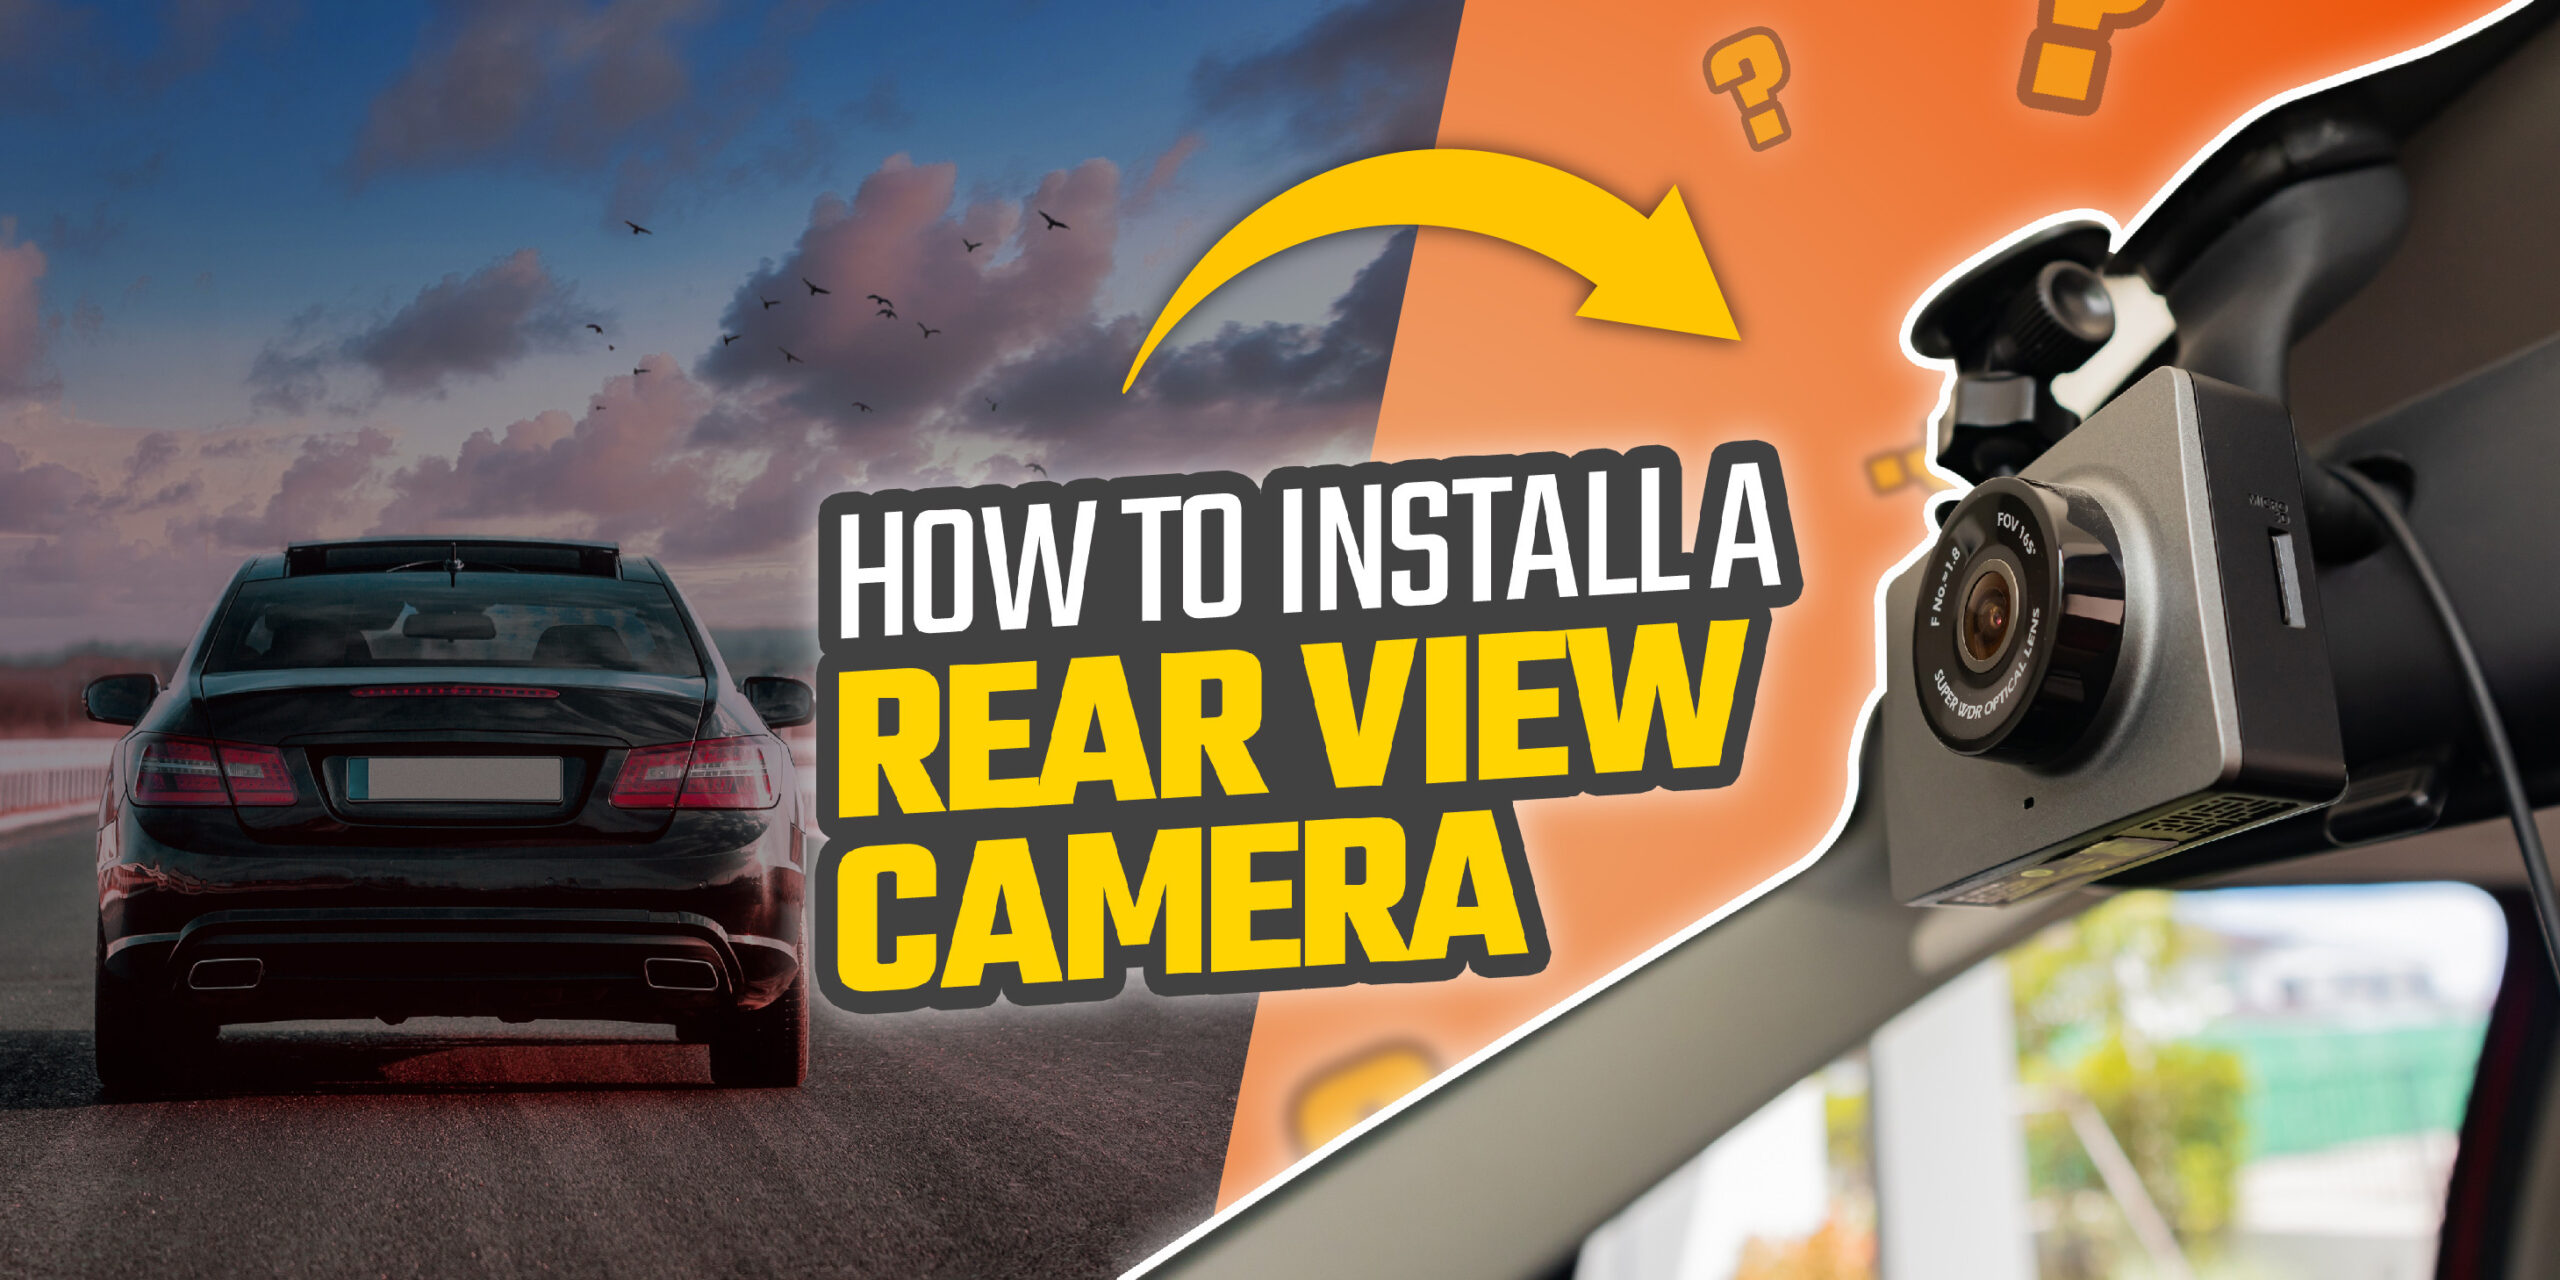
When driving these days, we are faced with many challenges such as poor road conditions, heavy traffic, motorists that don’t follow rules, pedestrians and other obstacles along the way. It becomes essential to equip our cars with added security and safety features to deal with unexpected situations on the road. A smart choice comes in the way of a dash cam and rear view cam. This blog will take you through how to install a rear view cam and dash cam in your car for enhanced safety, to capture road trips and for added convenience while parking.
Why Do I Need a Rear View Camera and Dash Cam?
The biggest advantage of cameras in your car is better safety. In the event of an accident, it can provide invaluable evidence that clarifies faults and helps in insurance claims to prove your innocence. Even a minor scratch can be documented so that you can have complete peace of mind on the road and while parked.
360-Degree Security
You can have an extra set of eyes where you need them the most. The front dash cam covers the front view and the rear camera is perfect for parking in reverse. Parking mishaps become a thing of the past. Plus, you can monitor your parked car from a smartphone app to check for vandals and thieves.
Hassle-Free Convenience
You no longer have to navigate tricky situations with just mirrors. With a dash cam, you can record scenic trips and upload on to social media to share with friends and family. Motor vlogging is become a common thing these days, and dash cams are the accessory that makes it happen.
Installation Walkthrough- How To Install A Rear View Back Up Camera And A Dash Cam
Integrating your dash cam and rear view mirror into your vehicle might sound like a complex endeavour, but these basic step-by-step guides will shed light on the process and have you driving in absolute safety in no time.
Keep Your Tools and Supplies Ready
Assemble the necessary tools you will need:
- Dash cam
- Rear view camera
- Integrated display
- Wiring kit
- Pliers, screwdrivers
- Vehicle user manual
Choose the Mounting Position
For the front dash cam opt for a place on top of the windscreen just behind the rear view mirror. You can even place it on the dashboard if it provides an unobstructed view. Attach the dash cam’s mount to the windshield ensuring stability and visibility. Conceal the wiring along the vehicle’s interior and connect to the 12V cigarette lighter port or directly to the fuse box. If required, you may have to replace the rearview mirror with a new one that can accommodate the dashcam.
Choose a spot for the rear view camera on the rear bumper, rear windshield or interior parcel shelf for the best view. Makes sure you get a proper line of sight.
Wiring
Consult your vehicle’s electrical wiring system for the power connections, etc. You may need the wiring kit to connect all the components to the infotainment system or integrated display. Take your time to ensure proper connections.
Adjust and Fine-Tune
Once both cameras have been secured in place, adjust the angles of the dash cam and the rear view camera to optimise your field of view. The dash cam should capture the road ahead without any obstructions while the rear cam offers a clear picture of what’s behind the vehicle.
Test and Verify
Before you set off on your drive, conduct a comprehensive test. Check if the dashcam records correctly, and that you get a clear picture on the integrated display. Recheck all the connections and take a short drive to ensure proper functionality while in motion.
To protect your car exterior, you may want to read about the differences between polish, wax and buffing.
Conclusion
This simple guide lets you seamlessly integrate your rearview camera and dash cam to improve road safety and provide you with a convenient driving experience. Each vehicle has unique characteristics and designs, so tailor-fit your safety accessories for the best result.
You can check out more amazing articles on the Carorbis blog, where you’ll get the latest automotive news and insights, updated information on car and bike accessories, and much more informative posts.
Frequently Asked Questions
Q1. How To Install A Rear View Camera On A Car?
Ans. Installing a rear-view camera involves several steps. First, you have to select a suitable mounting position at the rear, depending on the set-up of your car and the viewing angles that can be achieved. The cables need to be routed from the camera to the front of the vehicle to the infotainment system and viewing screen. Once the power and video cables have been installed, test the camera to ensure it is working properly.
Q2. How To Install Wireless Rear View Camera On Car?
Ans. Wireless rear-view cameras offer the convenience of connecting the camera to the monitor without any cables. This makes the installation process a little easier but still requires careful planning of the mounting points and making sure that the wireless connection works. After installing the camera, place the transmitter in an appropriate position and connect the power wires to the reverse light. At the receiver end, inside the car, pair the devices and test the system by engaging the reverse gear. Adjust the camera angle if needed.
Q3. How To Wire Up A Rear View Camera?
Ans. Identify the camera’s power cables (red and black), and connect them to the reverse light circuit using the supplied wire connectors. Once you have secured the connection, run the video cable from the camera at the rear to the front of the vehicle under seats, along carpets and through the centre console. Make sure it is hidden and protected. Connect the video cable to the infotainment monitor or display screen. Switch to reverse camera mode by engaging the gear into reverse while the car is on. Check if the camera view is alright and adjust the camera angle if required. Secure wires with clips and braces for better organisation and safety.
Q4. How To Install A Back Up Camera?
Ans. Select a spot at the rear of the vehicle that provides an unobstructed view of the area you want to monitor while reversing. The rear bumper is a good place to install the back up camera but you could explore other positions such as the trunk lid, above the rear number plate, etc, to get the best field of view. Clean the mounting surface so that it is free of dust, dirt or grease. A clean surface helps with adhesion and camera stability. Some cameras require screws to be drilled into the car exterior, so you may need some help with this step. If your camera is not weatherproof, consider using a silicon bond to seal the edges of the mounting.
Q5. How To Install Dash Cam Front And Rear?
Ans. The front dash cam can be placed on the front windscreen just near the rearview mirror or on the dashboard depending on the angle of view you need and the design of the interior. The rear cam can be placed on the trunk or the rear bumper. Both the cams can be connected to the infotainment system to record your driving experiences. Double-check all connections and ensure the cables are secure and will not obstruct passengers. Confirm the camera’s display is working properly before starting on your journey.
Q6. How To Install Dash Cam With Cigarette Lighter?
Ans. Locate the cigarette lighter and identify the 12V power outlet in your vehicle’s interior. It is usually situated below the dashboard in the centre console, or near the gear shifter. The power cable should be properly routed and positioned to reach the 12V socket, leaving some slack to avoid strain on the cable. Gently insert the cable connector into the socket and turn the power on. Start the vehicle and the dash cam should power on automatically. You might see the initial set-up display and indicators to get it running.
Q7. How To Connect Rear Dash Cam To Reverse Light?
Ans. Identify the reverse lights on your vehicle near the back around the taillights. Unfasten the reverse light power cable and strip a bit of insulation from it. Do the same for the dash cam power cable. Secure the wires together and crimp the connectors to ensure a strong connection. Wrap the connected wires with insulation tape to protect the connection from moisture and vibrations. Connect the power cable to the rear dash cam, then start the vehicle and shift into reverse. The dash cam should automatically power on and display the rear view on the screen.
Q8. How To Install Rear Dash Cam Wire?
Ans. Decide the route for the dash cam wire from the rear to the front of the vehicle. Consider existing wire channels which are hidden under the carpets and the inner door walls. Begin routing near the rear windshield or trunk and secure them to the interior using retaining clips or adhesive tape. This prevents the wire from dangling or interfering with other parts of the vehicle. Stay away from airbag cables, pedals and other moving parts that could pose a risk to the driver.
Q9. Can I Install Dash Cam Myself?
Ans. You can install a dash cam yourself if you are familiar with the tools and basic wiring practices. You will save on professional installation charges and it is convenient as a DIY job. It’s a great learning opportunity, and easy to do if you follow the instruction manual. There are plenty of online videos with tutorials on such installing jobs that make the process simple and fun.
Q10. How Much Does It Cost To Install A Front And Rear Dash Cam?
Ans. Carorbis sells Qubo brand of car dash cams that cost between Rs.4,000 and Rs.5,000 when purchased online. If you can carry out the installation yourself, you will just have to invest in basic tools such as screwdrivers, pliers, insulation tape and plastic connectors/clips. A professional installation will cost around Rs.1,000 in labour and will only take about 1 hour to complete. Qubo dashcams offer HD video recording, low light vision, WIFI connectivity, temperature resistance and a host of other features that connect to an easy-to-navigate app.
Q11. Is It Best To Have Front And Rear Dash Cam?
Ans. Having both a front and rear dash cam is beneficial because you have all-around security on the road and when parked. Accidents can happen either from the front of the car or the rear, so if you have a dashcam positioned at both ends, making an insurance claim or proof of the driver at fault becomes easier. Rear dash cams are useful for backing up safely as they provide a clear view of obstacles, pedestrians and other vehicles behind you. Dash cams front and rear can also record hit-and-run incidents where they can capture the license plates of errant motorists. Basically, having a rear and front dash cam gives you enhanced safety and can also deter potential thieves and vandals.
Q12. Do I Need Front And Rear Dash Cam Or Just Front?
Ans. It is advisable to get both a front and rear dash cam for a 360-degree, comprehensive viewing angle around your car. It gives you peace of mind knowing that all your driving experiences have been captured. Having just a front dash cam will record footage in front of the car. An incident at the rear will not be recorded which could make it less useful in an accident or while reserving into a tight parking spot.
Q13. Do Dashcams Only Work When Car Is On?
Ans. While dashcams typically operate while the vehicle is on, there are certain models that can be switched into parking mode where they continue recording footage while the engine is switched off. Dash cams draw their power source from the 12V cigarette lighter or directly from the car’s battery. Certain types of cameras switch off in parking mode but are activated when motion is detected or there is impact on the car.
